It’s important to take good-quality photos of your car so it attracts the best offers from dealers.
With that in mind, the brains behind Carwow’s social media team have put together a list of tips and tricks to help you take great photos. These should help you get the best possible offer for your car, or just brush up your skills if you’re taking pictures for fun!
What Photos Should You Take When Selling Your Car?
- Front interior shot, ideally from outside the car, shot across the dash.
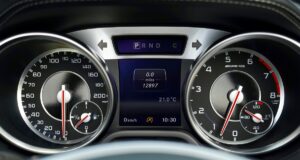
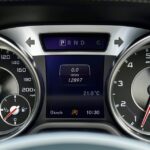
- Instrument binnacle/dials with the car switched on to show the mileage and any possible warning lights.
- Alloy wheels (and any scratches/scuffs/dents).
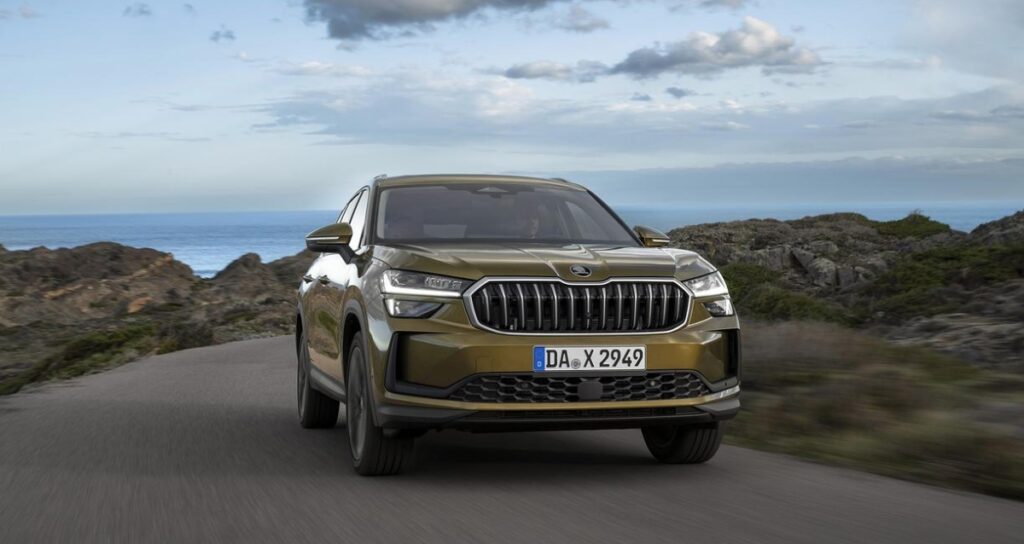
- Front ¾ of the car at an angle.
- Front of the car, dead on.
- Photo of the tyres to show what condition they’re in / how much tread is left.
- Nearside front of the car, at an angle.
- Side-on shot of the car.
- Nearside rear of the car, at an angle.
- The rear of the car, dead on.
- Boot, with the door open & showing the parcel shelf.
- Offside rear of the car, at an angle.
- Back seats.
- Service schedule document showing latest service.
- Close-up of any damage, both interior & exterior.
Tips for Taking Photographs of Your Car
1. Clean your car

Before taking your first picture you need to make sure your car is looking spotless. A dirty car could give off the impression you’re hiding marks, and may not bring its paint quality into its best light.

Give it a good clean inside too, as a cleaner interior looks much better looked after.
2. Remove your stuff from it

Remove any bags, rubbish or other items from your car to help potential buyers see all details of the interior. Remember that buyers are interested in the car — not what’s in it.
3. Pick the right location

Ensure you park up in a good location before taking your photos. Avoid trees or buildings that can cause shadows or reflections on the car, or make it darker and harder to see. Empty areas of a car park or a quiet countryside location would be our recommendation. This will then give you enough room to take photos of the car from all angles.
4. Make sure you’re using the right equipment
Most of us have seriously powerful cameras right in our pockets such is the way of modern smartphones now. If yours isn’t up to the task though, it might be worth borrowing one with a better camera. There are apps available for editing photos, such as Apple Photos, Lightroom Mobile, Google Photos and Polish that can tidy up your image. Even better, use a proper DSLR digital camera if you have access to one.
5. Set your phone or camera to landscape

Ensure you tilt your phone sideways and take all photos in landscape mode. This allows you to easily fit your car, or parts of your car, into the frame without having lots of dead space around it.
6. Ensure the lighting is good — don’t use flash!
Take your photos during the day when there is natural light available. Taking a picture in low light or at night time using flash will obscure parts of your car and will likely be less appealing to prospective dealers who may want to buy your car as a result.

7. Show the number plate
It is important to show the car’s number plate in at least one of your photos as it allows prospective buyers to carry out a car history check – such as to give them more peace of mind and might make them more likely to buy it.

